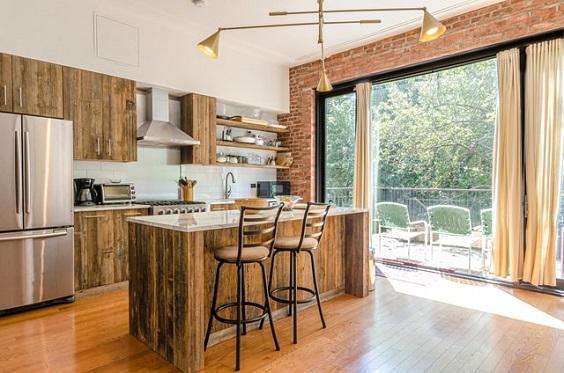
We’re sure that everyone will agree that the existence of kitchen cabinets is a must since they will help a lot to store and organize things. We can say that a kitchen is one of the high-traffic areas in a house that will always be busy and has everything. Even when you are planning to have a simple breakfast or dinner, the kitchen is your best friend.
There are various materials that are used to make cabinets and the most common one is wood because it’s the most versatile material that blends well with any decorating style. However, just like the other stuff in the kitchen, a wooden kitchen cabinet is exposed to water, oil, and grease often. Continuous exposure will make it shows a few signs of reparation need.
(You might also love this: Stylishly Bold Dark Kitchen Ideas You Might Want to Try)
How to Fix Water Damage in Kitchen Cabinets
You will need:
- C-clamps
- Carpenter’s glue or wood fillers
- Sandpaper or sanding machine
- Paint
- Waterproof coatings
Follow these steps:
Check the Damage
- The common sign that you can see right away is delamination and swollen spots.
- For a small swelling area, use wood fillers and carpenter’s glue.
- If there’s a fungus on the delaminated surfaces, we’d recommend replacing it with a new one because it’s unsavable.
Dry Everything
- After checking the affected one, disassemble, it and let it dry for a few minutes.
- You can also heat it according to the requirements.
- Ensure that the wood is completely dried because you don’t want to seal it in a wet condition.
(You might also love this: Decorate Your Kitchen with These Kitchen Decor Ideas)
Remove the Hardware
- Remove the hinges, braces, and any screws associated for easier processing and access.
- Check for their proper functionality and replace them accordingly.
Seal the Damage
Now you have to seal the gaps from the delamination of the surface.
- Depending on the size of the damaged area, fill the gaps by using the carpenter’s glue or wood fillers.
- You can also use a primer to repair minor blemishes and become the base formation for a classy finish after the painting process.
Clamp the Surface
Use C-clamps to clamp the surface so that separated veneers get enough adhered to each other.
(You might also love this: Breathtaking White Kitchen Ideas That’ll Stun You)
Smoothen the Surface
Sanding helps to remove uneven rises that may happen because of fillers. For this step, you can use 100-grit sandpaper to sand the surface once it strongly sets.
Repaint the Cabinet
Repainting the cabinet is another way to make it looks fresh and rejuvenated. Since it’s a kitchen cabinet, you may want to make it become more water-resistant, so oil-based paint is the best choice but they need a longer time to dry compared to regular paint.
(You might also love this: Inspiring Outdoor Kitchen Ideas You Might Want to Steal)
Sand Round Two
Sanding the painted surface is necessary to get rid of uneven paint and a flawless finish.
- You can use sandpaper or a sanding machine.
- It will be even better if you provide future water resistance by using lamination or water-resistant coating over the painted surface.
Reinstallation
Before installation, the last step is allowing the repaired cabinet door to get dried completely, and it is essential to not get prone to any water damage after installation.
(You might also love this: Awesome Farmhouse Kitchen Ideas for Elegant Look)
So, what are you waiting for? Check your kitchen cabinets and fix the swelling and delamination now!